Overview
This page covers advanced maintenance options that will not be needed by most users.
Additional P3 card programming options
Data partition size
By default, the data partition of a newly-programmed card is 1.5GB. If you have a card larger than 4GB, you can choose a larger size by using the option string --data=<megabytes> (where <megabytes> can be between 1536 and 28160). The size of partition that will fit will be 2-4GB smaller than the card itself—you can start at (size-2GB) and decrease the size until you don't get an error message during partitioning.
Swap
We prefer to run without swap, so that is the default. You can control this when you are programming the system using the option strings --swap=on and --swap=off (obviously, not both at the same time).
Update stored image
If you plan to commission multiple MIROs, you can—optionally—make changes to the P3 image files stored in a copy of the MDK and they will then be propagated to any MIROs you program from that copy.
You will find the system overlays stored at ~/mdk/image/P3/rootfs (mounted at /) and ~/mdk/image/P3/home (mounted at /home). You can safely add files as well as edit files, including making changes that you would usually make through the options passed to the programming tool, listed above. For instance, to add your network credentials at this level, edit the file at ~/mdk/image/P3/rootfs/etc/wpa_supplicant.conf. To add a user, add a home directory to ~/mdk/image/P3/home/<user> and add their details to configuration files in ~/mdk/image/P3/rootfs/etc.
Login through Debug Port

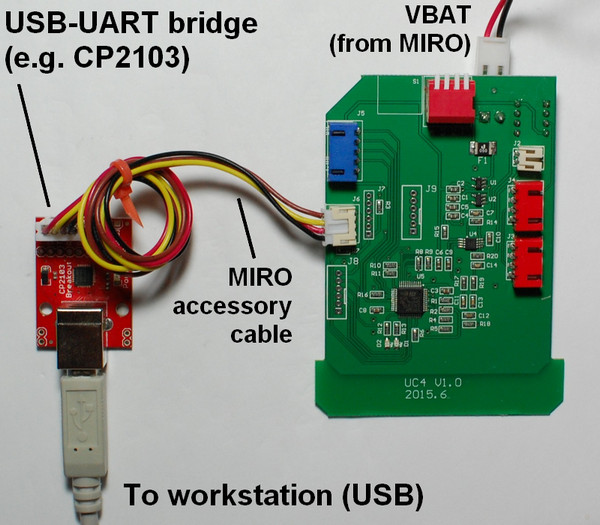
The image above shows the 3-wire Debug Port through which you can login to P3 as an alternative to logging in through the wireless network. This will not usually be necessary, but may prove helpful if access to the wireless is temporarily unavailable (access is always enabled).
Suitable USB adapters are such as CP2103, CP2104, FT232 (shown above), but any serial port will do; the port speed is 115200bps. A typical login session follows, where the user's adapter has been assigned /dev/ttyUSB0 by the workstation.
root—if you have set a root password, you will be asked for it.Reprogram P1
Updates to P1 should not be required. In case they are, your workstation can connect to the UART programming port on the P1 board (UC4) using any available UART port. Remove the shell, and then proceed as follows.
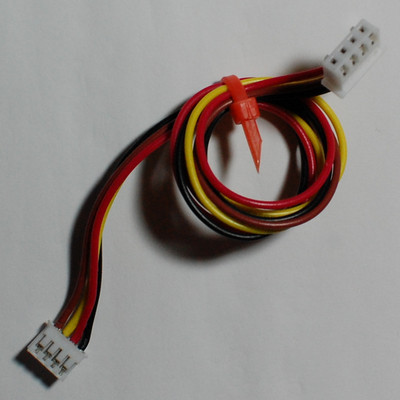
- Connect a USB-to-UART bridge between your workstation and the debug port at UC4:J6, and tie BOOT0 to high. One way to do this is to use a 4-way cable as shown in the image with a CP2103 or similar bridge.
- Power-up MIRO by switching it on underneath. If the programming port is connected correctly, MIRO will not exhibit any behaviour (in particular, the display lights on either wheel arch will remain unlit). If they do light, P1 has not entered programming mode - check that the BOOT0 pin is being held high and cycle the power again.
- Open a terminal on your workstation and change into the
bindirectory of the MDK. - Change into the sub-directory for your operating system.
- Run the programming tool, as shown below, using the supplied script.
If the programming script is not successful, check the connections between your UART port and UC4.
program_P1.sh to suit your local system; edit the script as required.
To identify the port under Linux, run ls /dev/ttyUSB* both before and after you plug in the bridge.
To identify the port under Windows, look in Device Manager as you plug in the bridge.
P1 will only accept one program per reset, so always cycle MIRO's power before you try programming again.
If you get "Permission denied", you can either proceed using sudo or add your user to the dialout group and logout/login before trying again.